How do you braze aluminum?
- Wear the necessary safety clothing and gear
- Clean the area to be repaired
- Secure the piece to be brazed firmly in place
- Apply flux
- Heat the area to be repaired
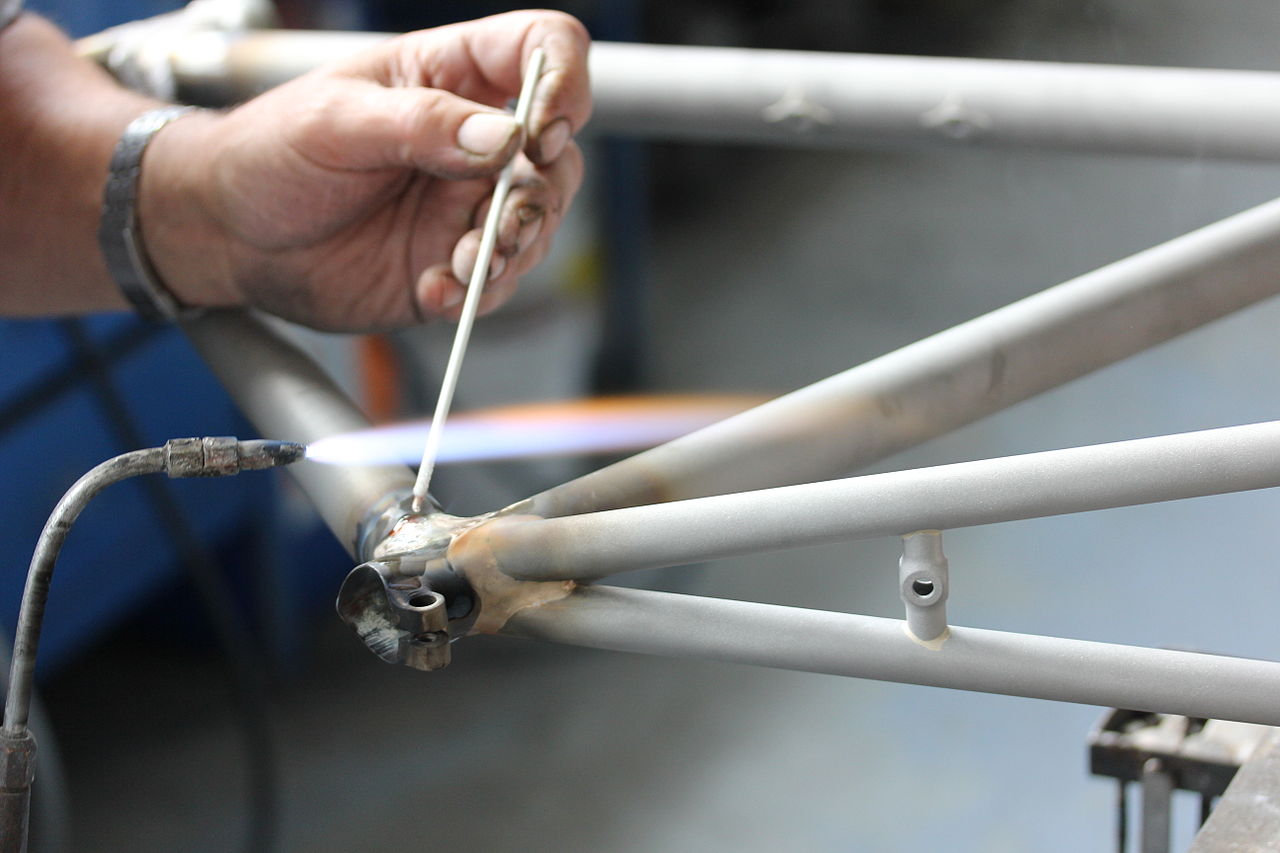
- Apply the filler aluminum
- Remove flux
- Polish and apply with rust-resistant coating
Brazing aluminum is a great way to save money if you do not want to incur extra costs by buying new aluminum parts to replace the cracked or broken ones. However, the lack of know-how might be a good enough of a barrier to make you run to the nearest aluminum and stainless steel supplier in the Philippines and spend money that you would have otherwise saved.
Don’t go just yet because if you have the right tools and materials on hand, the steps to braze aluminum might not be as hard as you thought it was. To prove it, here are the steps you need to know in order to braze aluminum.
Wear the necessary safety clothing and gear
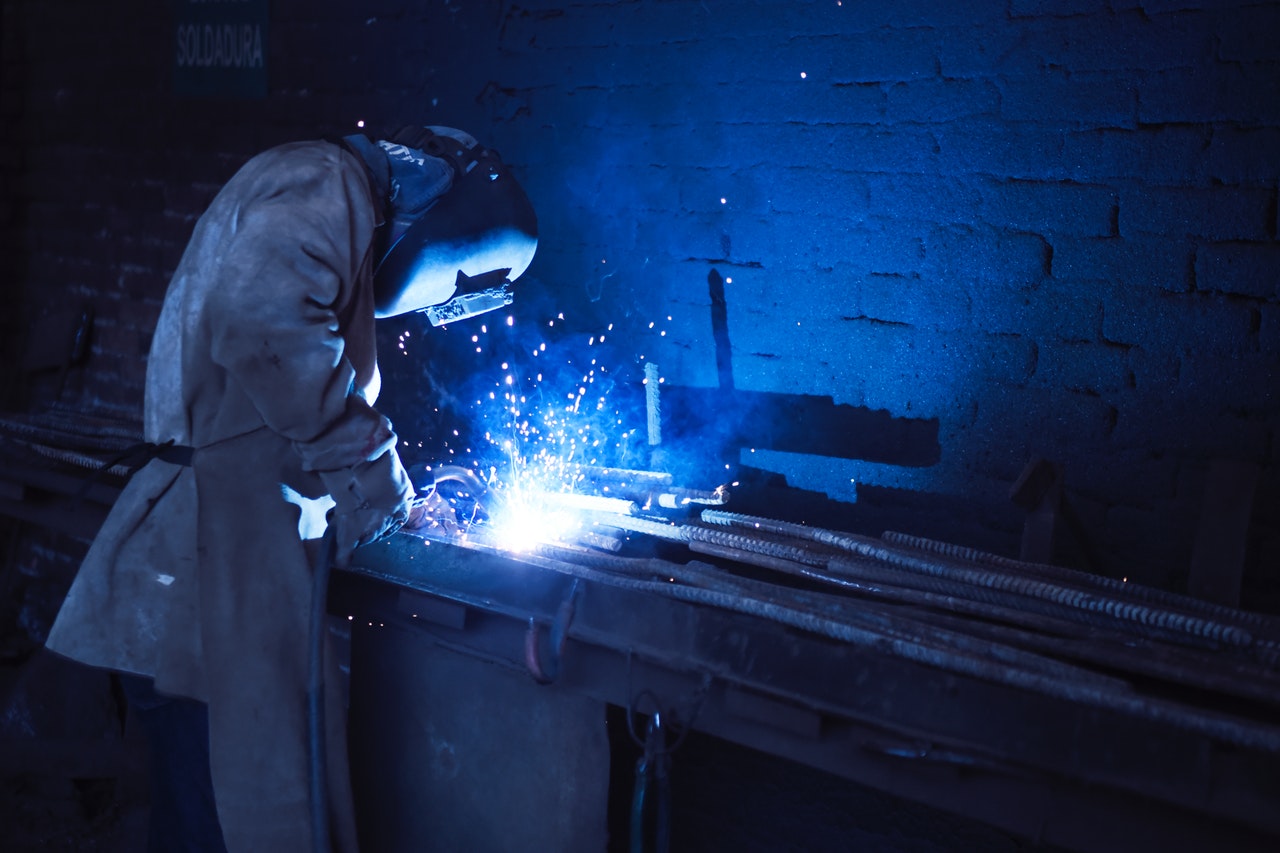
Before you start with anything, make sure to have the necessary safety clothing and gear. Your safety checklist should include a pair of heavy-duty gloves, a thick, long sleeve upper garment (preferably a coat or jacket), a pair of thick pants, heavy-duty shoes, and a helmet or a pair of goggles.
In terms of safety gear what you need are the following: degreasing solvent, some flux, a propane or acetylene torch, filler aluminum, some water, polishing cloth and rust-resistant coating.
Clean the area to be repaired
Using the aforementioned water and degreasing agent, clean all the dirt, oil, grease, paint, or any other type of residue from the area to be brazed. Depending on the size of the area, you may need to use a sandblaster or a grinding wheel to fully rid it of blemishes.
Secure the piece to be brazed firmly in place
Not much explanation needed here since you need to have stability when brazing. If you start the process without firmly securing the aluminum piece in place, you might not be able to fully repair it. The worst-case scenario is the piece drops as you are brazing it which could further add to the damage it already has.
Apply flux
Applying flux before brazing is important because you need to make sure that the aluminum is pure or without impurities before they are fused together. Use a brush to apply it. You can eliminate this step altogether by coating the aluminum filler with flux before you braze it onto the broken area.
Heat the area to be repaired
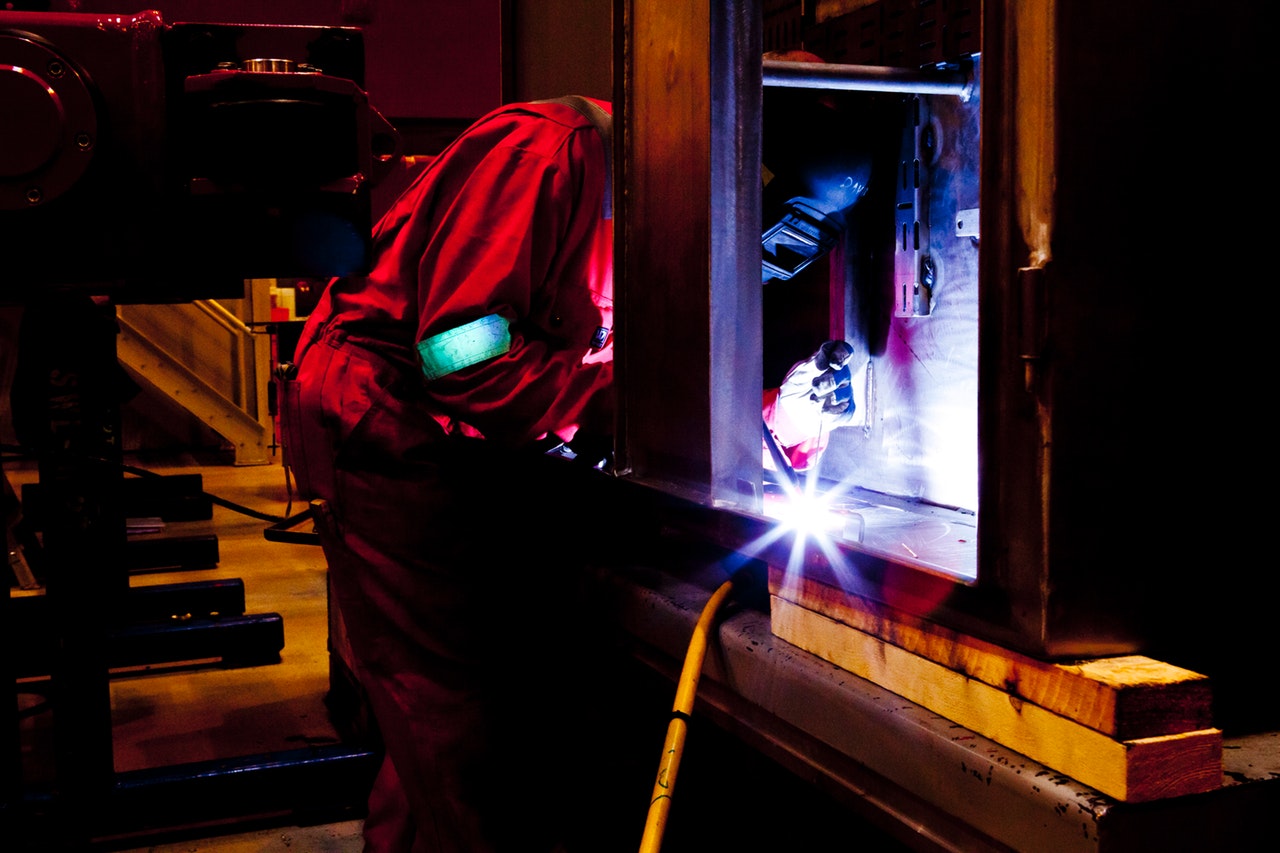
After applying the flux, you’re now ready to begin the brazing proper. Start by heating the area to be repaired until it shows an orange color. The flux itself must also change color if not turning clear throughout.
Apply the filler aluminum
Place the filler metal on the cracked area while it is still hot. The heat of the metal will melt the filler into the area that needs repairing and should cover it thoroughly thanks to capillary action. Move the flame of the torch on and off as needed to melt the filler as needed.
Remove flux
Source: Flickr
Let the aluminum settle and solidify. Once you are certain that it has already solidified, dip the aluminum piece in hot water. If it’s too big, just pour the hot water on top of the repaired area which should cause the flux to flake off. If that doesn’t work then brush it off gently with a brush while it’s still wet with water. Wait for it to cool off completely.
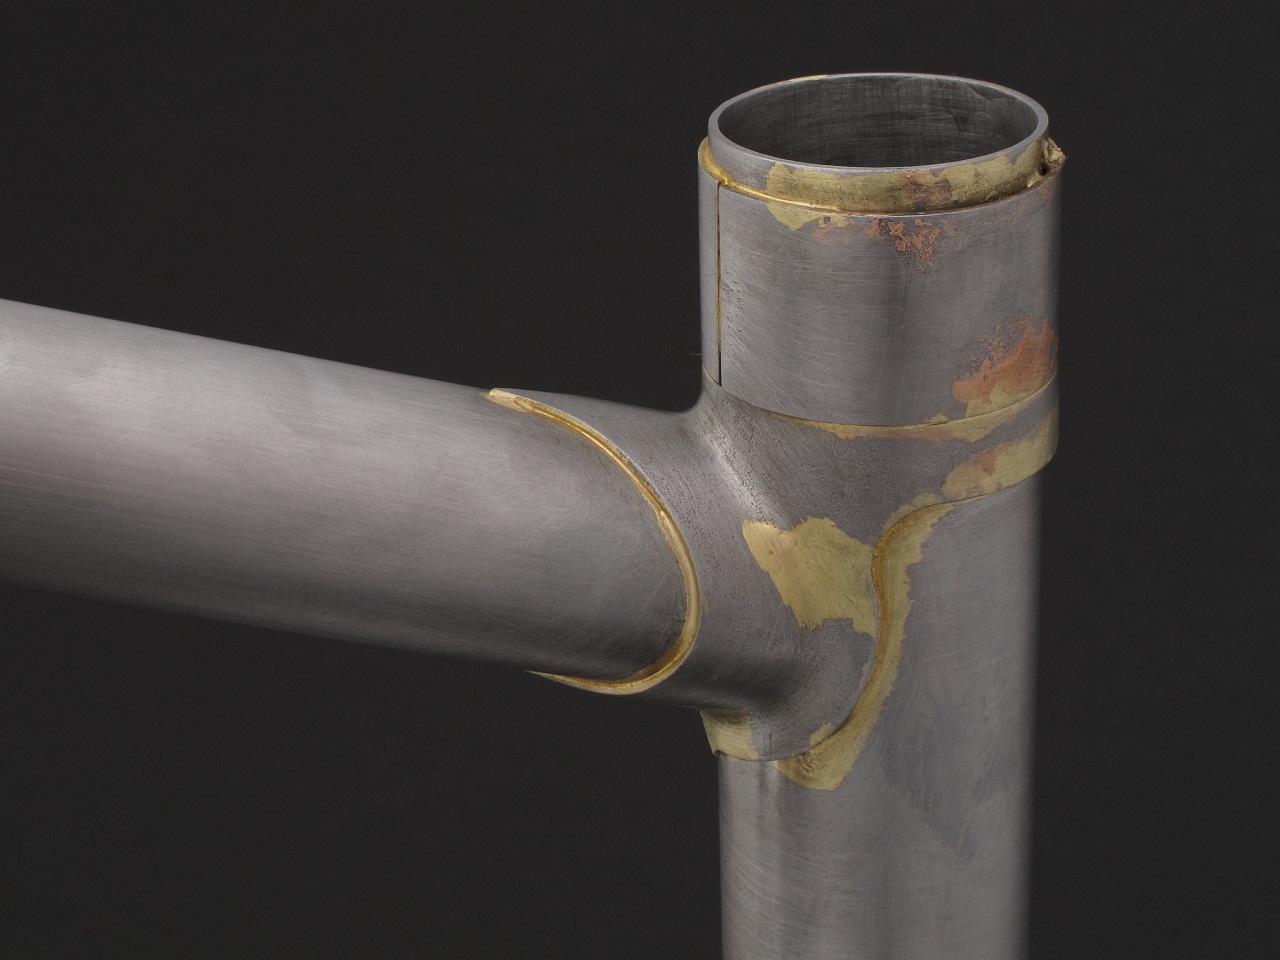
Polish and apply with rust-resistant coating
Once cool, polish the area with an emery cloth or using some form of coated abrasive. Make sure to check for deformities and to buff of small overlaps in the filler metal and original aluminum piece. Finally, coat the whole repaired area with some rust-resistant coating to prevent corrosion.
Mistakes to avoid when brazing aluminum
On top of all those steps here are some mistakes to avoid when brazing just for some added information:
Using low duty equipment
Despite its low melting point, the thermal conductivity of aluminum is five times more than that of steel, which means that the heat dissipates very quickly. This simply means that you need heavy-duty equipment that can sustain currents and voltages that exceed that of the requirements for brazing steel in order to properly braze aluminum.
Preheating
It might be tempting to preheat every single piece of aluminum you braze, but experts say that that is not necessary if you have the right equipment. Preheating is not a bad thing to do, but it can be easy to get carried away and lose control of the temperature of the alloy. Remember that overheating aluminum can change its mechanical properties making it harder for you to manage the brazing process. The magic number is 200 Fahrenheit (or 93.3 Celsius). Anything higher than that is a no-no.
Key Takeaway
Brazing aluminum might be a challenge for many people, but that shouldn’t discourage you from trying it on your own. In fact, this could be a great way to save money on repairs that you would normally bring to your nearest aluminum and stainless steel supplier in the Philippines. Follow the steps listed above, use the right equipment, and always be mindful of what you are doing and you will surely be able to get the job done yourself on your next aluminum brazing adventure.